
How to Install TypeScript Globally and Locally
Learn how to install TypeScript globally and locally and how to compile it in the command line with the tsc command.

I'm a software developer and technical writer. I love teaching and learning the intricacies of the amazing world of programming.
Welcome! Now that you know what TypeScript is all about, let's see how you can install it globally and locally and how you can compile it (transpile it) into JavaScript in the command line.
Global vs. Local Installation
I would recommend installing TypeScript:
- Globally if you are planning to use it in multiple projects. If you choose this option, you will be able to use the same version of TypeScript across all your projects and you will be able to compile it with the
tsccommand throughout your file system.
- Locally if you are planning to use it in a single project. If you choose this option instead, you will be able to install different versions of the TypeScript compiler for different projects.
Global installation
To install TypeScript globally, you just need to:
- Open your project and make sure that you are in the project's root directory in the command line.
- Run the following command in the command line:
npm install -g typescript
This will install the TypeScript compiler globally on your system, so you will be able to run it from anywhere in your file system.
Potential Error in macOS

Alternatively, if you would like to avoid running global commands, you can use npx. The npm documentation mentions that:
If you are using npm version 5.2 or greater, you may want to consider npx as an alternative way to run global commands, especially if you only need a command occasionally. For more information, see this article about npx.
A third option would be to install the TypeScript compiler using Homebrew, a popular package manager for macOS. To do this, run this command:
brew install typescript
After you install TypeScript globally, you will be able to run the tsc command to compile your TypeScript files into JavaScript files. We will see how you can do this after the local installation.
Local installation
If you would like to install TypeScript locally for a project, follow these steps:
Step 1: npm init
First, you should initialize your project by running:
npm init
This will create a package.json file in the directory where you ran the command. The content of the file will have this initial structure:
{
  "name": "project-name", // You can customize this.
  "version": "1.0.0", // The version you chose.
  "description": "", // You can leave this blank initially.
  "main": "index.js", // By default. You can customize this.
  "scripts": {
    "test": "echo \"Error: no test specified\" && exit 1"
  },
  "author": "", // Your name (optional).
  "license": "ISC"
}
Step 2: Installing TypeScript as a Dev Dependency
After you have this file ready, you can install TypeScript and save it as a development dependency in package.json with the option --save-dev:
npm install typescript --save-dev
Now the package.json file will be updated with a new devDependencies field. This field will have typescript as the key and the version of TypeScript that you installed as the value:
{
  "name": "project-name",
  "version": "1.0.0",
  "description": "",
  "main": "index.js",
  "scripts": {
    "test": "echo \"Error: no test specified\" && exit 1"
  },
  "author": "",
  "license": "ISC",
  "devDependencies": {
    "typescript": "^5.2.2"
  }
}
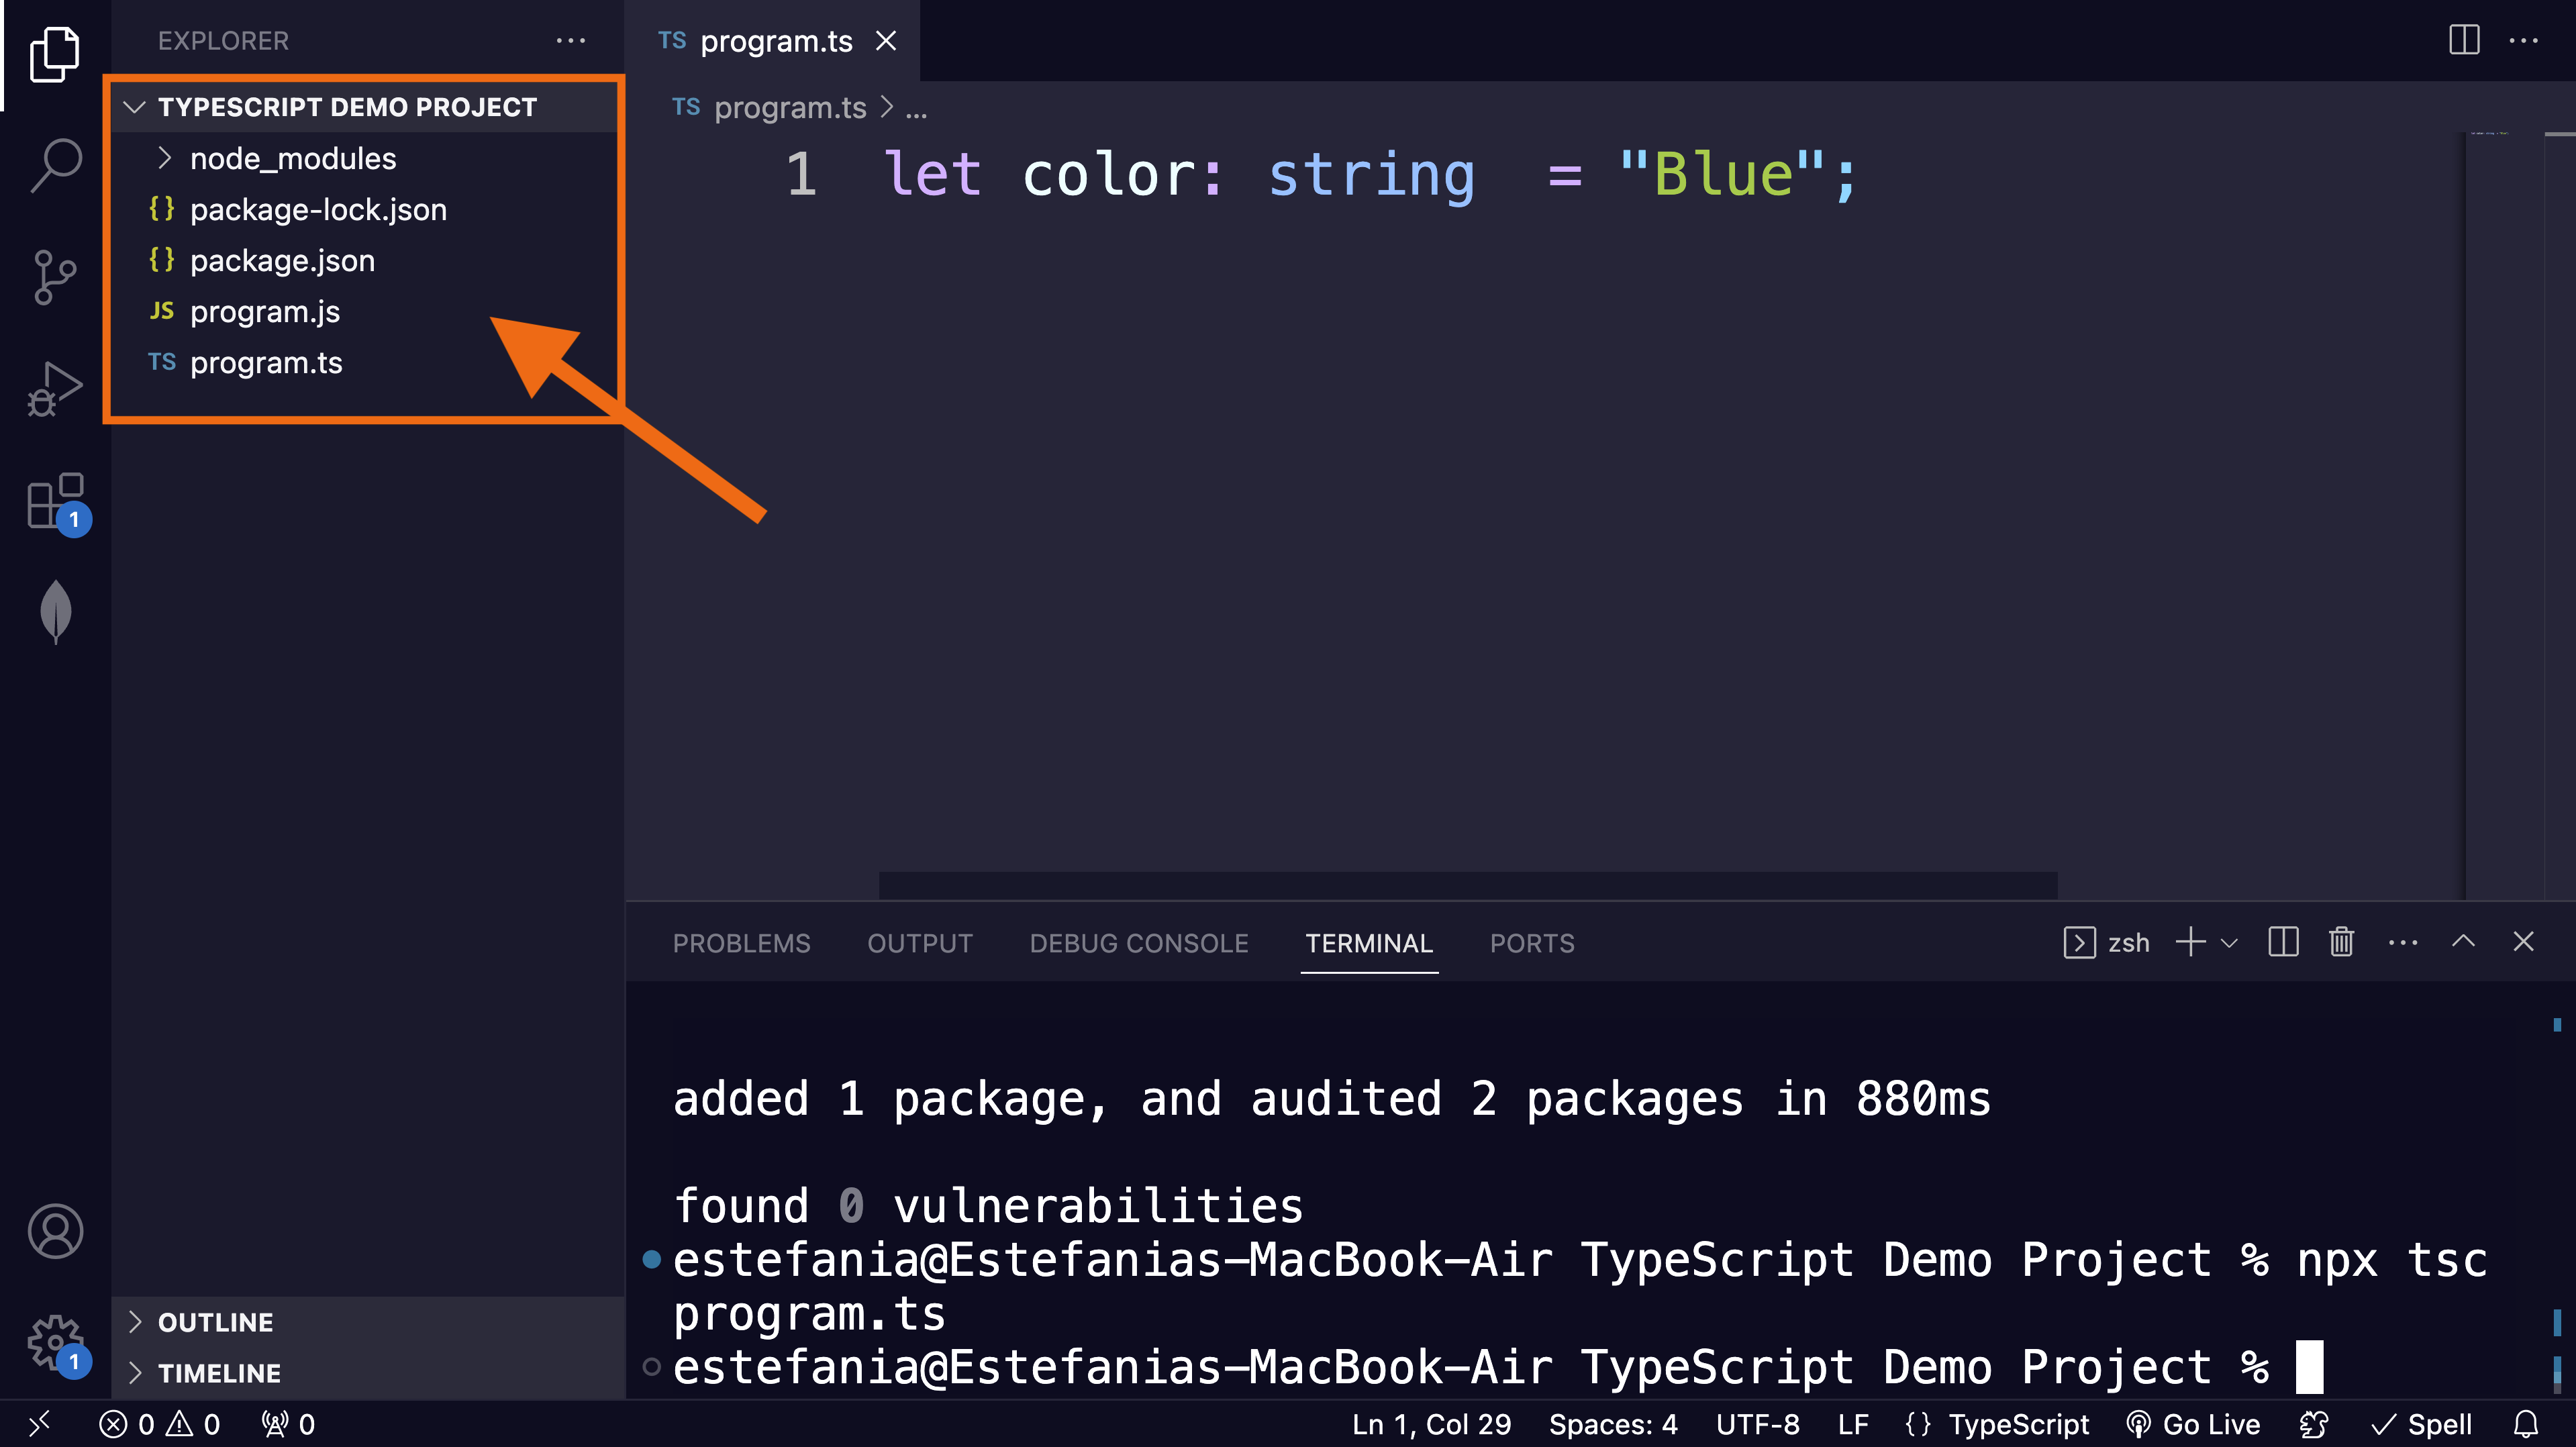
package-lock.json file and a new node_modules folder in your root directory. The package-lock.json file keeps track of the changes that have been to the package.json file.Awesome. We have reached the moment of truth. Now we will check if everything worked correctly by compiling our TypeScript code.
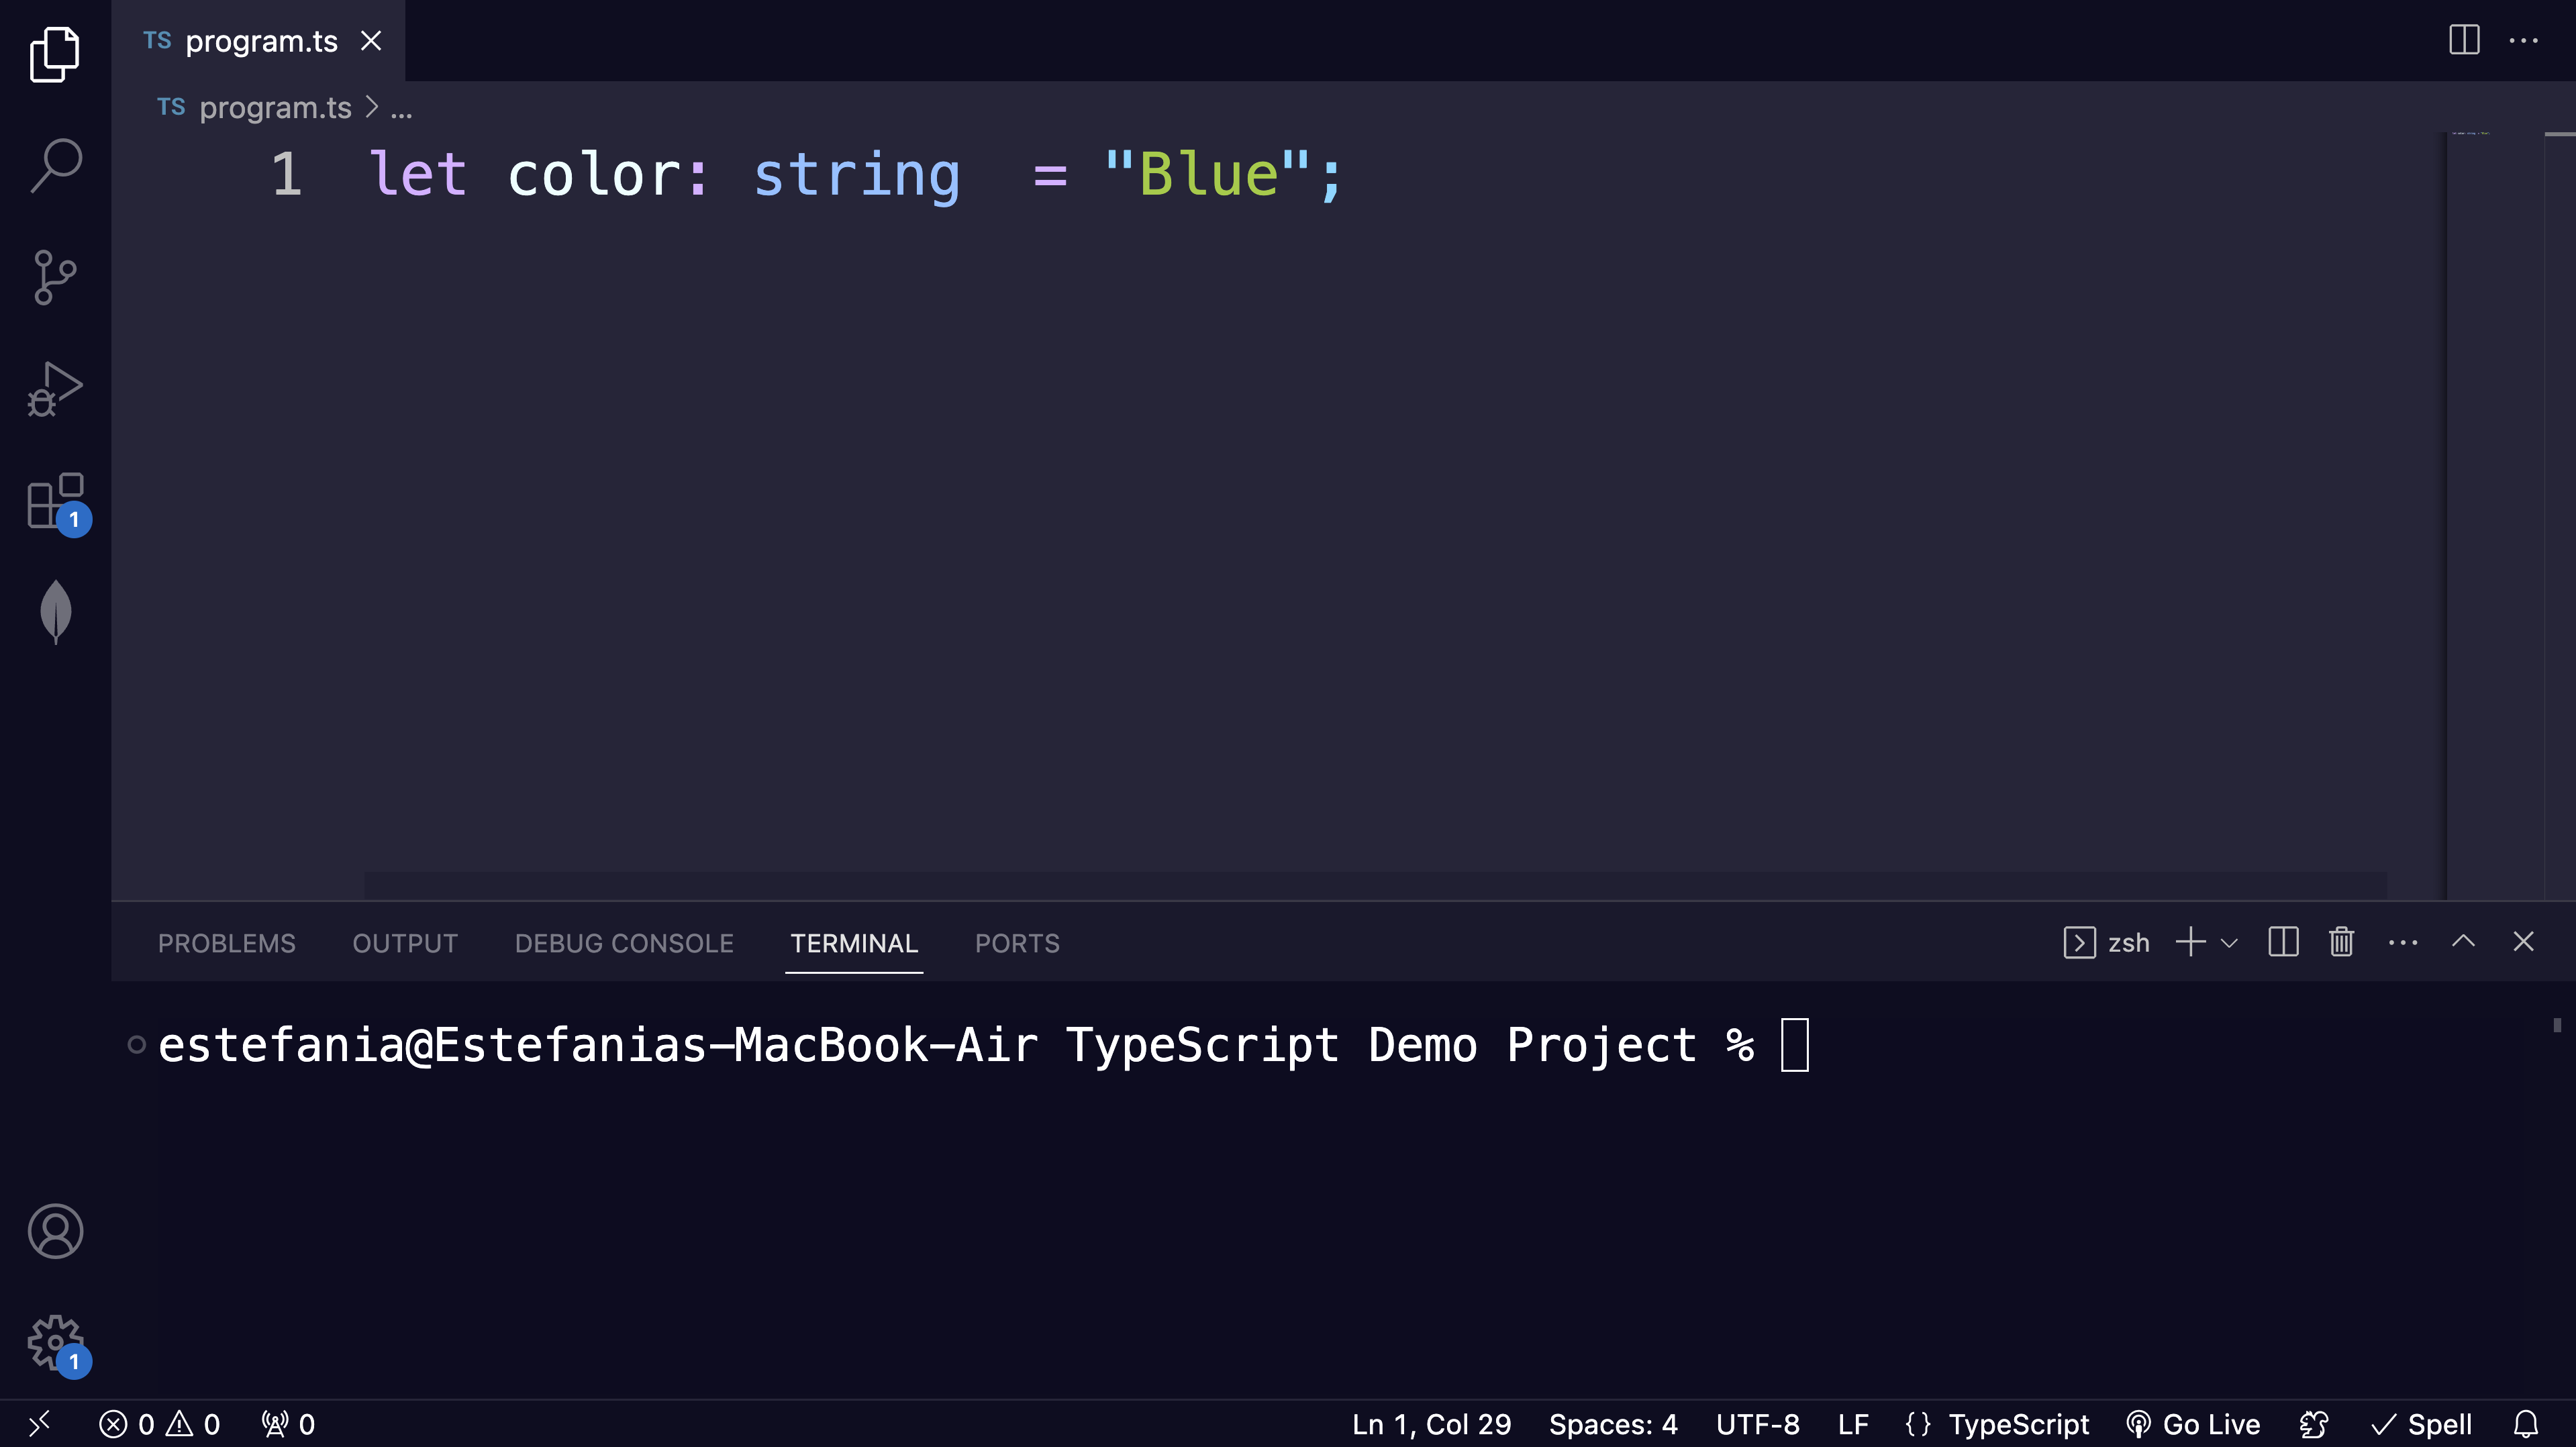
The tsc Command with npx
To run the TypeScript compiler, we will use the npx command:
npx tsc program.ts
tsc program.ts directly (without the npx).From left to right, we write:
npx- a command that you can use to run another command from a local or remote npm package.tsc- the command that starts the TypeScript compiler.program.ts- the name of the TypeScript file that we would like to compile into JavaScript.
After running this command, you should see a new JavaScript file with the same name as your TypeScript file:
If you open the JavaScript file, you will see the new code:

💡 Important Tip: Setting the target to ES6
You will likely notice in your JavaScript code that, by default, the let keyword is replaced by the var keyword, which can have serious consequences because of their differences in scope.
Why does the compiler replace let with var?
By default, the TypeScript compiler compiles your code into ES3, a version of JavaScript where the let keywords did not exist (source).
To change this, you just need to set the target of the TypeScript compiler to ES6, a recent version of JavaScript where let does exist.
Let's see how you can do this.
Methods
You have two options:
- You can add the command-line option
--target es6when you compile your TypeScript files, like this:
npx tsc program.ts --target es6
- You can create a
tsconfig.jsonfile with the"target": "es6"field.
tsconfig.json file, I would suggest reading this article from TypeScript's official documentation. We will also see it in detail in the series.Great. Now you know how to change the target of the compilation process.
Conclusion
You can install the TypeScript compiler globally or locally.
If you install it globally, you will be able to run the
tsccommand from anywhere in your file system. This is recommended to work on multiple projects.If you install it locally, you will be able to run the
tsccommand usingnpx. This is recommended if you only need to work with TypeScript for specific projects or with specific versions.
Thanks for reading my article! Now you know more about how to install and compile TypeScript. To learn more about TypeScript, check out my series below.
If you would like to find more coding tutorials, follow me on YouTube (Coding with Estefania) and X (EstefaniaCassN). Have an awesome day. 🔅


