
How to Create a Python Virtual Environment on Windows and macOS
If you are working with Python packages, then you should create a virtual environment. Learn why this is helpful and how you can do it.

I'm a software developer and technical writer. I love teaching and learning the intricacies of the amazing world of programming.
Hi! 👋 If you need to work with Python packages, you should create a virtual environment first. Let's see why this is helpful and how you can do this on Windows and macOS.
You will learn:
What a virtual environment is.
Why they are important.
How to create a virtual environment.
How to activate a virtual environment.
How to disable and delete a virtual environment.
Are you ready? Let's begin! ✨
🔹 What is a Virtual Environment?
You can think of a virtual environment as a virtual "box" where you can store all your packages. This "box" is completely independent of other "boxes" (other virtual environments that you have created for other Python projects).
💡 Tip: a package is a collection of modules that you can download and install with tools like pip. NumPy is an example of a Python package.
When you create a virtual environment, you create an isolated place where your files and packages can be stored for a particular Python application.
This way, you can avoid installing packages globally.
Why is this important?
Let's see...
🔸 Importance of Virtual Environments
Virtual environments can be super helpful to:
Install different versions of the same package for different Python projects. If you install a package globally, all the applications that use it will have to use the same version. However, with a virtual environment, you can compartmentalize different project and use different versions of their packages.
Avoid making changes to existing applications. If a package is installed globally and then it is updated for a specific Python project, previous Python project that share or use the same global package could be affected by unexpected changes. By creating a virtual environment for each project, you avoid this risk.
🔹 How to Create a Virtual Environment
Awesome! Now that you know what a virtual environment is and why they are important, let's dive into how you can create a virtual environment.
venv
venv is the tool that we will be using. With the venv command, we will be able to use the terminal to create a new virtual environment in our current working directory.
According to the official Python documentation:
venv is available by default in Python 3.3 and later, and installs pip and setuptools into created virtual environments in Python 3.4 and later.
💡 Tip: you can also use a tool called virtualenv, but this has to be installed separately. According to the Python documentation:
virtualenv needs to be installed separately, but supports Python 2.7+ and Python 3.3+, and pip, setuptools and wheel are always installed into created virtual environments by default (regardless of Python version).
So... we will use venv for our examples. 🙂
General Steps
We will be using Visual Studio Code during the examples and we will work with the integrated terminal.
💡 Tip: to open this terminal, use the keyboard shortcut Ctrl + ` (backtick).
Step 1: Initial Setup
The first step is to make sure that your terminal is open and ready to take commands. Open the folder where you want to create the virtual environment. This should be your project folder.
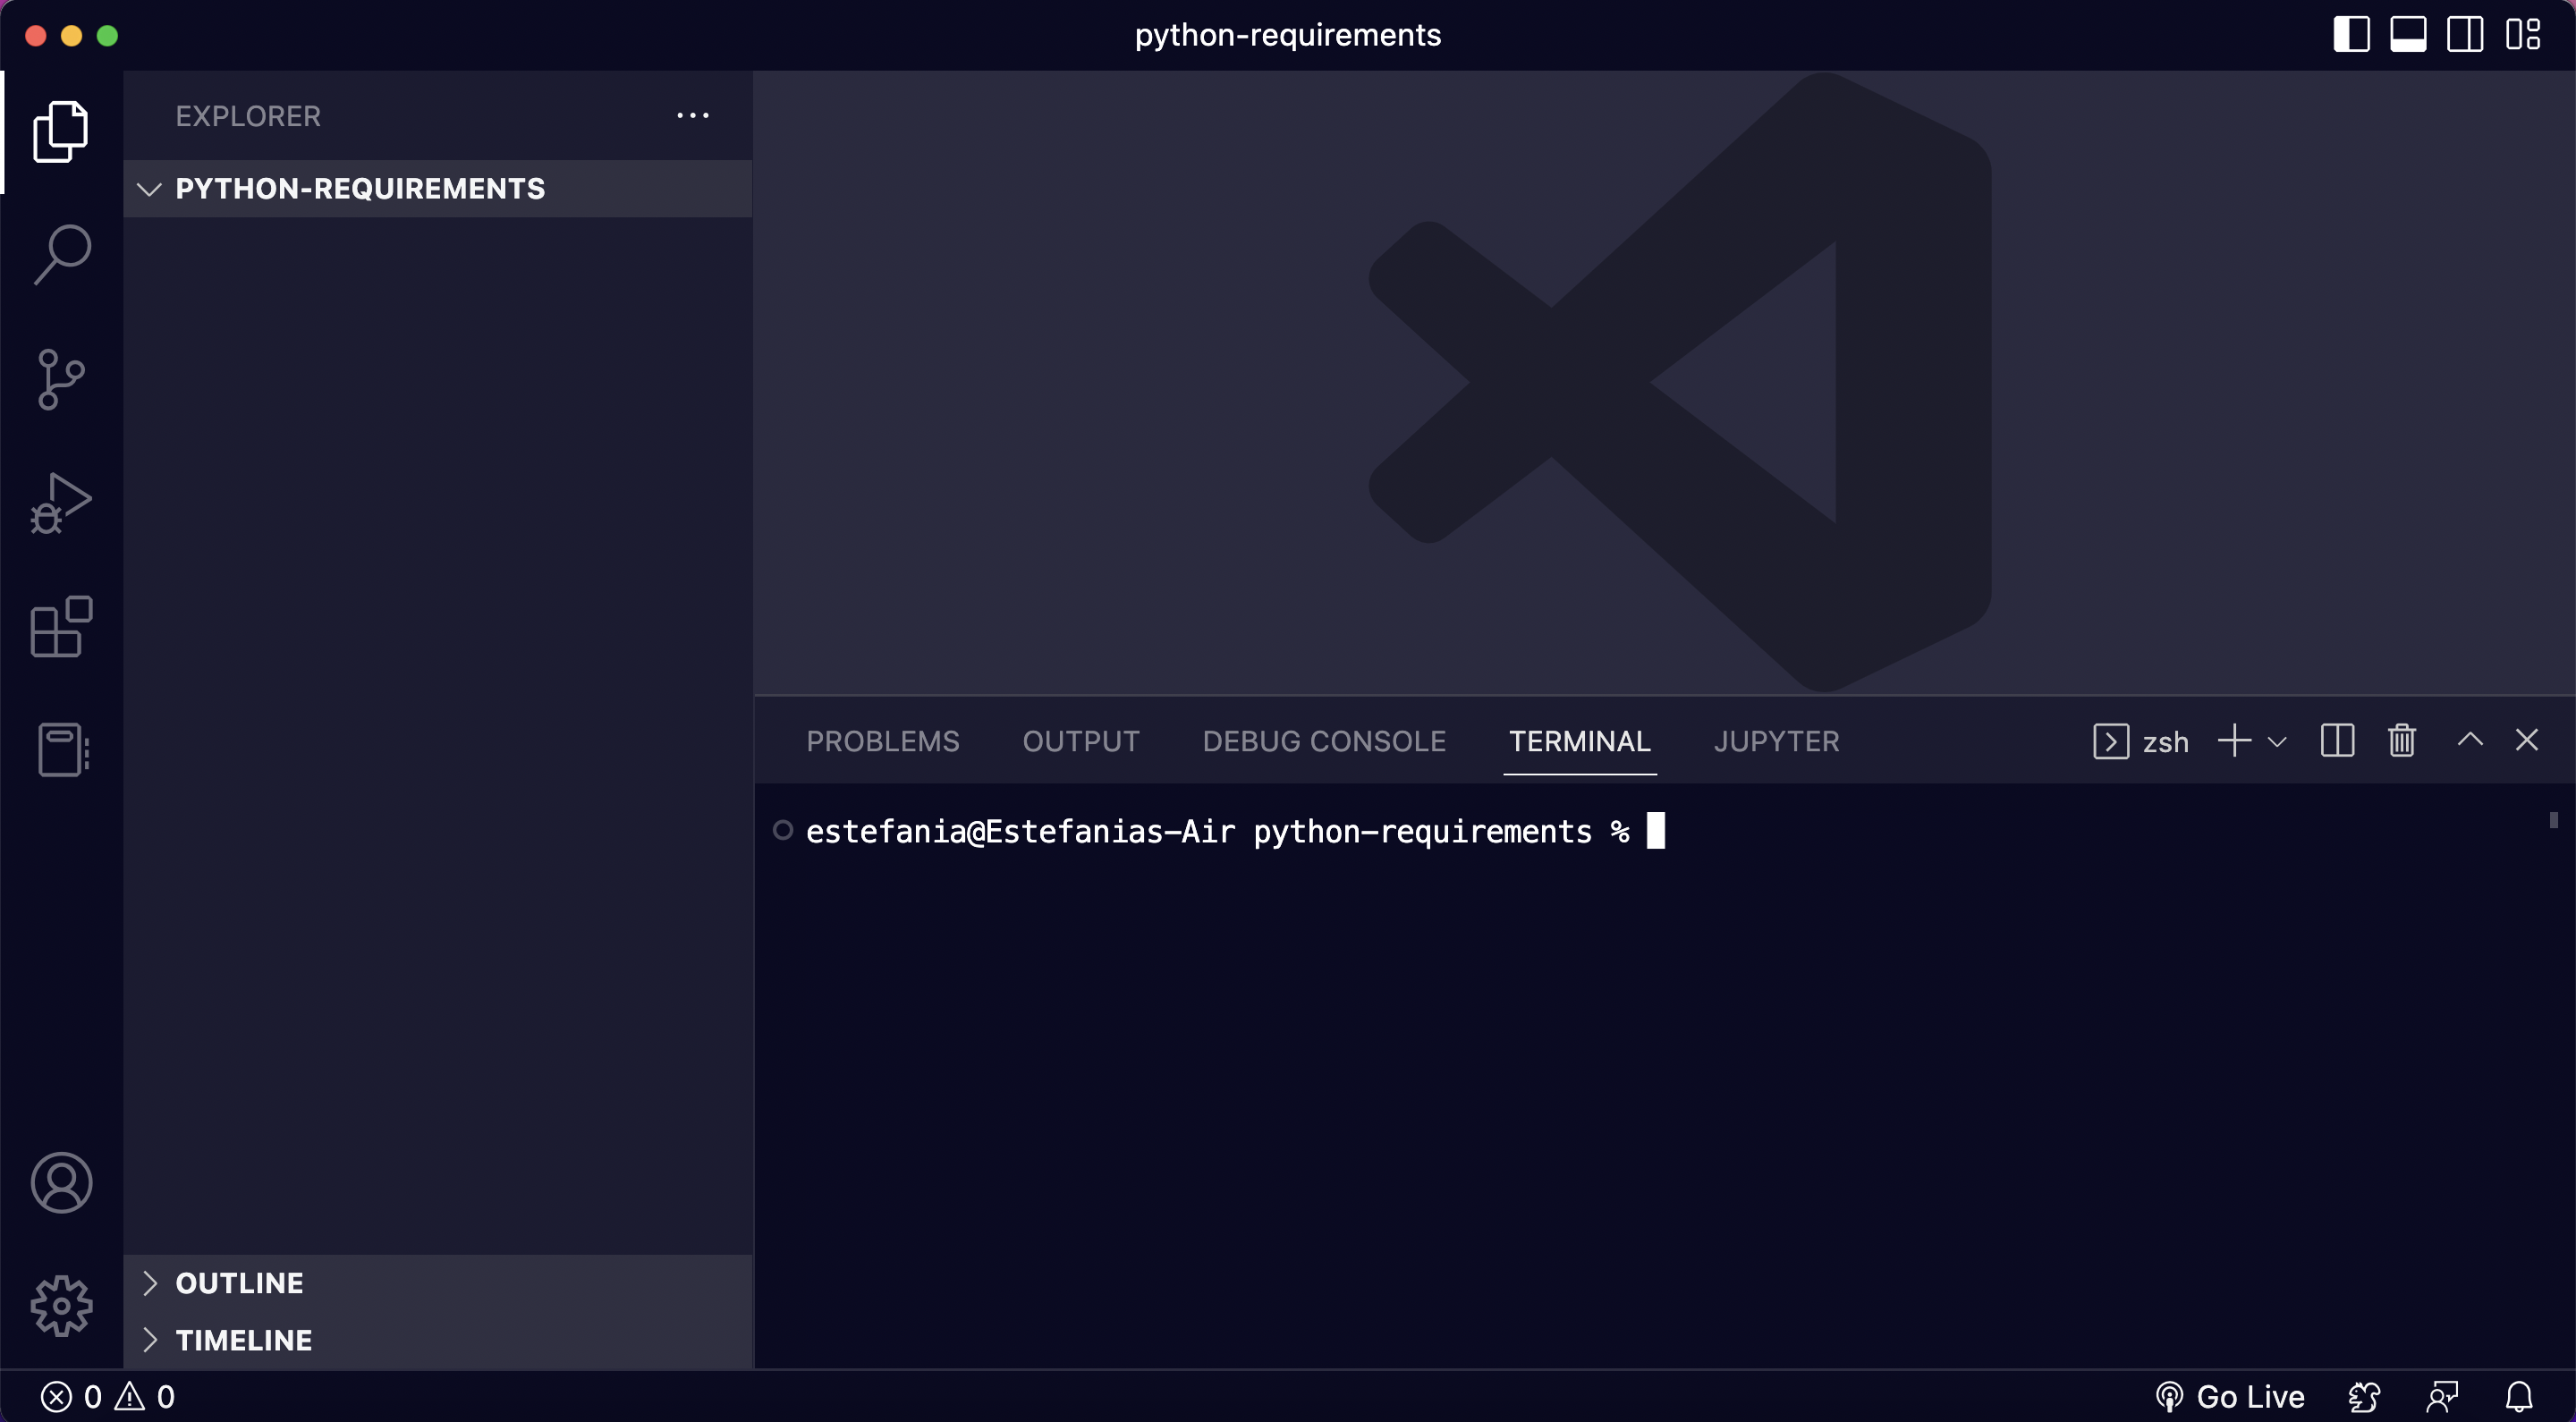
Step 2: Create the Virtual Environment
Then, it's time to create the virtual environment.
Windows
If you are working on Windows, run this command in the terminal replacing
with the path to the directory where you want to create the virtual environment:
py -m venv <DIR>
To create it in a directory called .venv in our current project (the folder opened in Visual Studio Code) you would write:
py -m venv .venv
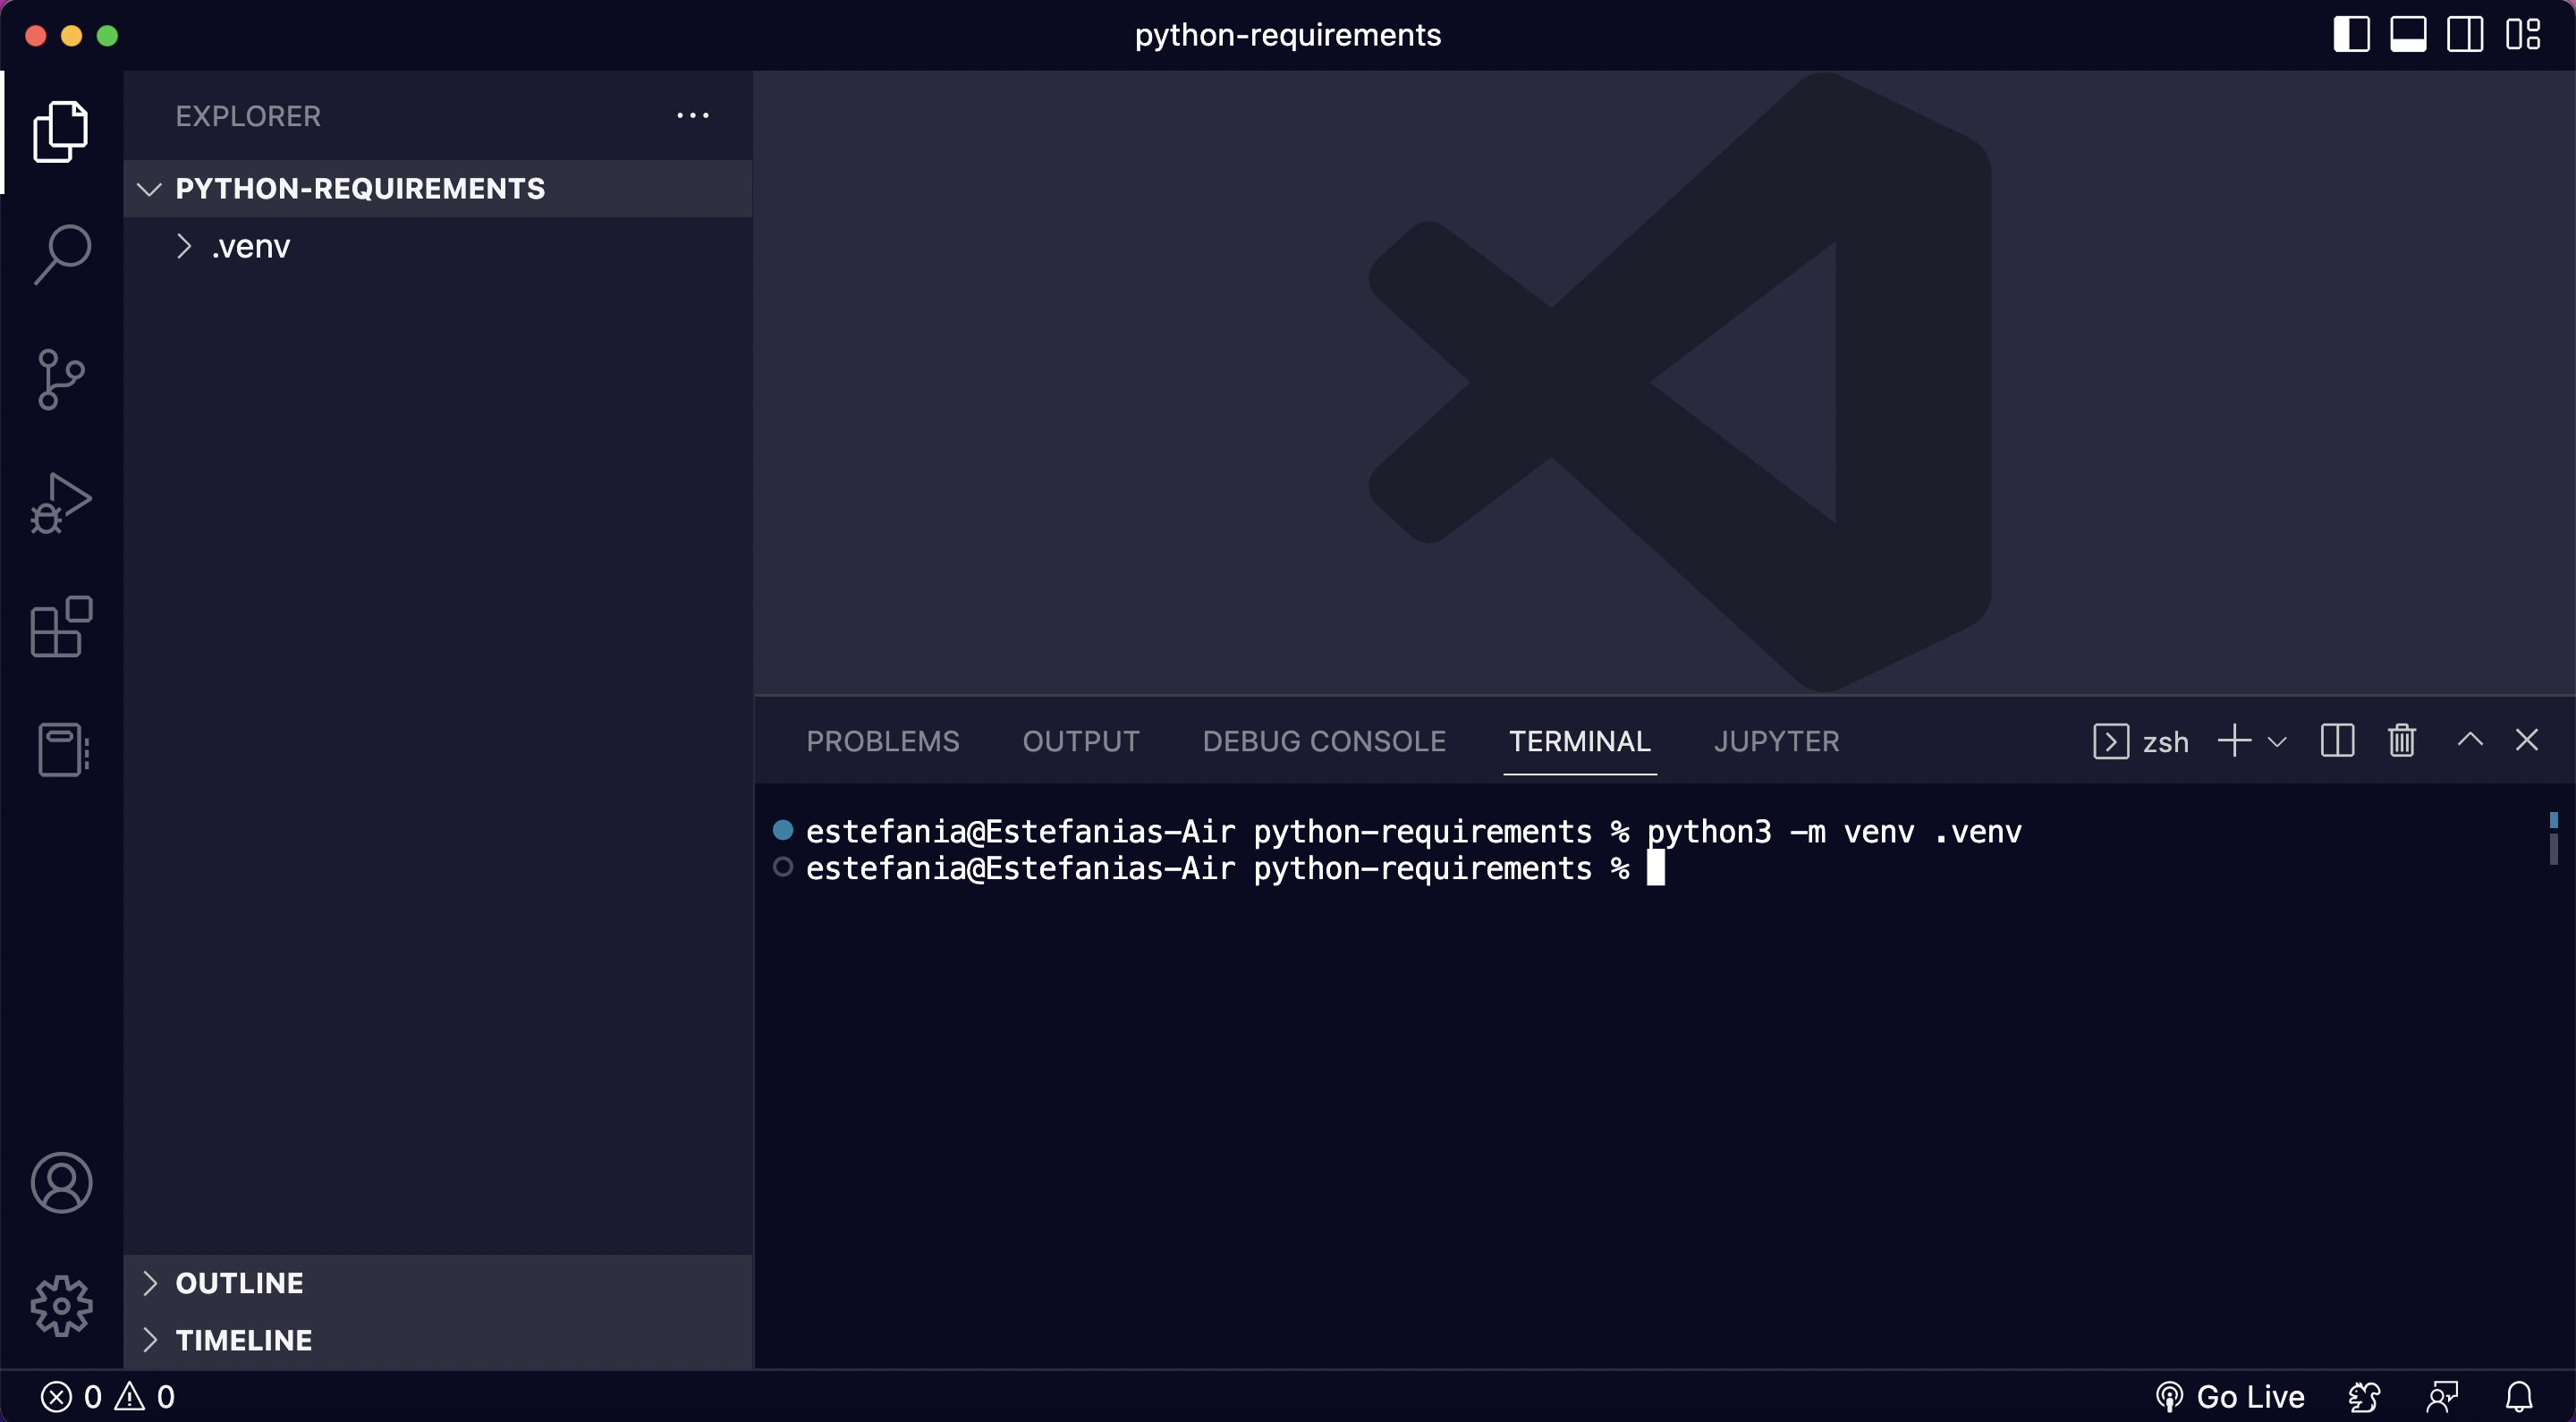
macOS
If you are working on macOS, run this command in the terminal, replacing
with the path to the directory where you want to create the virtual environment.
python3 -m venv <DIR>
To create it in a directory called .venv in our current project (the folder opened in Visual Studio Code) you would write:
python3 -m venv .venv
💡 Tip: .venv is a common name for the virtual environment folder. Adding a dot before the name will create a hidden folder.
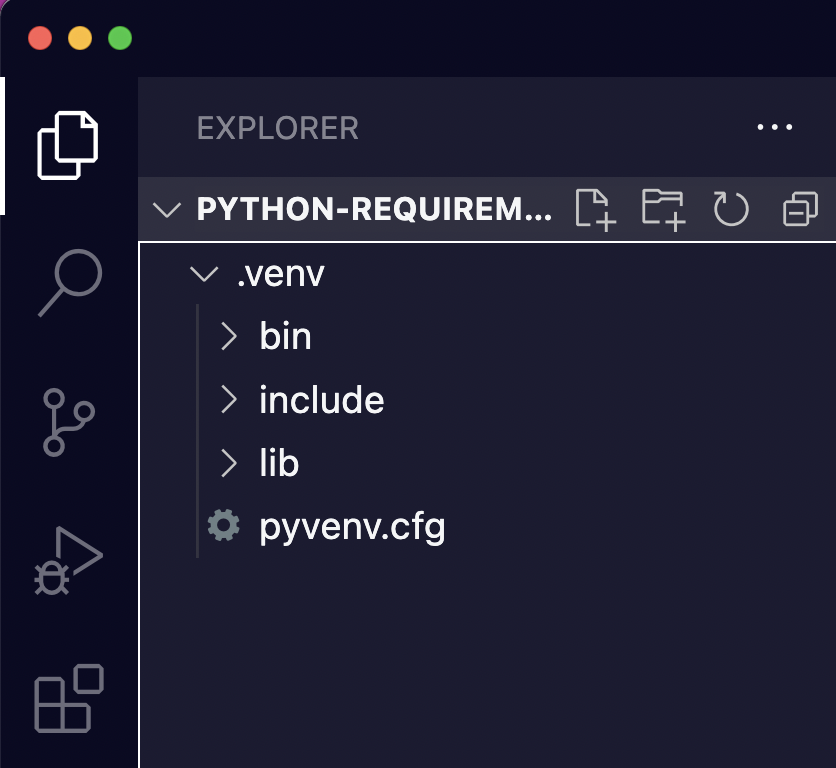
Step 3: New Folder and Files
After running this command, you should see a new folder in the Explorer called .venv.
If you expand this folder, you will see these folders and files:
Step 4: Activate the Virtual Environment
After creating the virtual environment, the next step is to activate it.
Windows
To activate the virtual environment on Windows, run this command in the terminal (the path to the directory that contains the virtual environment followed by \Scripts\activate):
<DIR>\Scripts\activate
In our case, this would be:
.venv/bin/activate
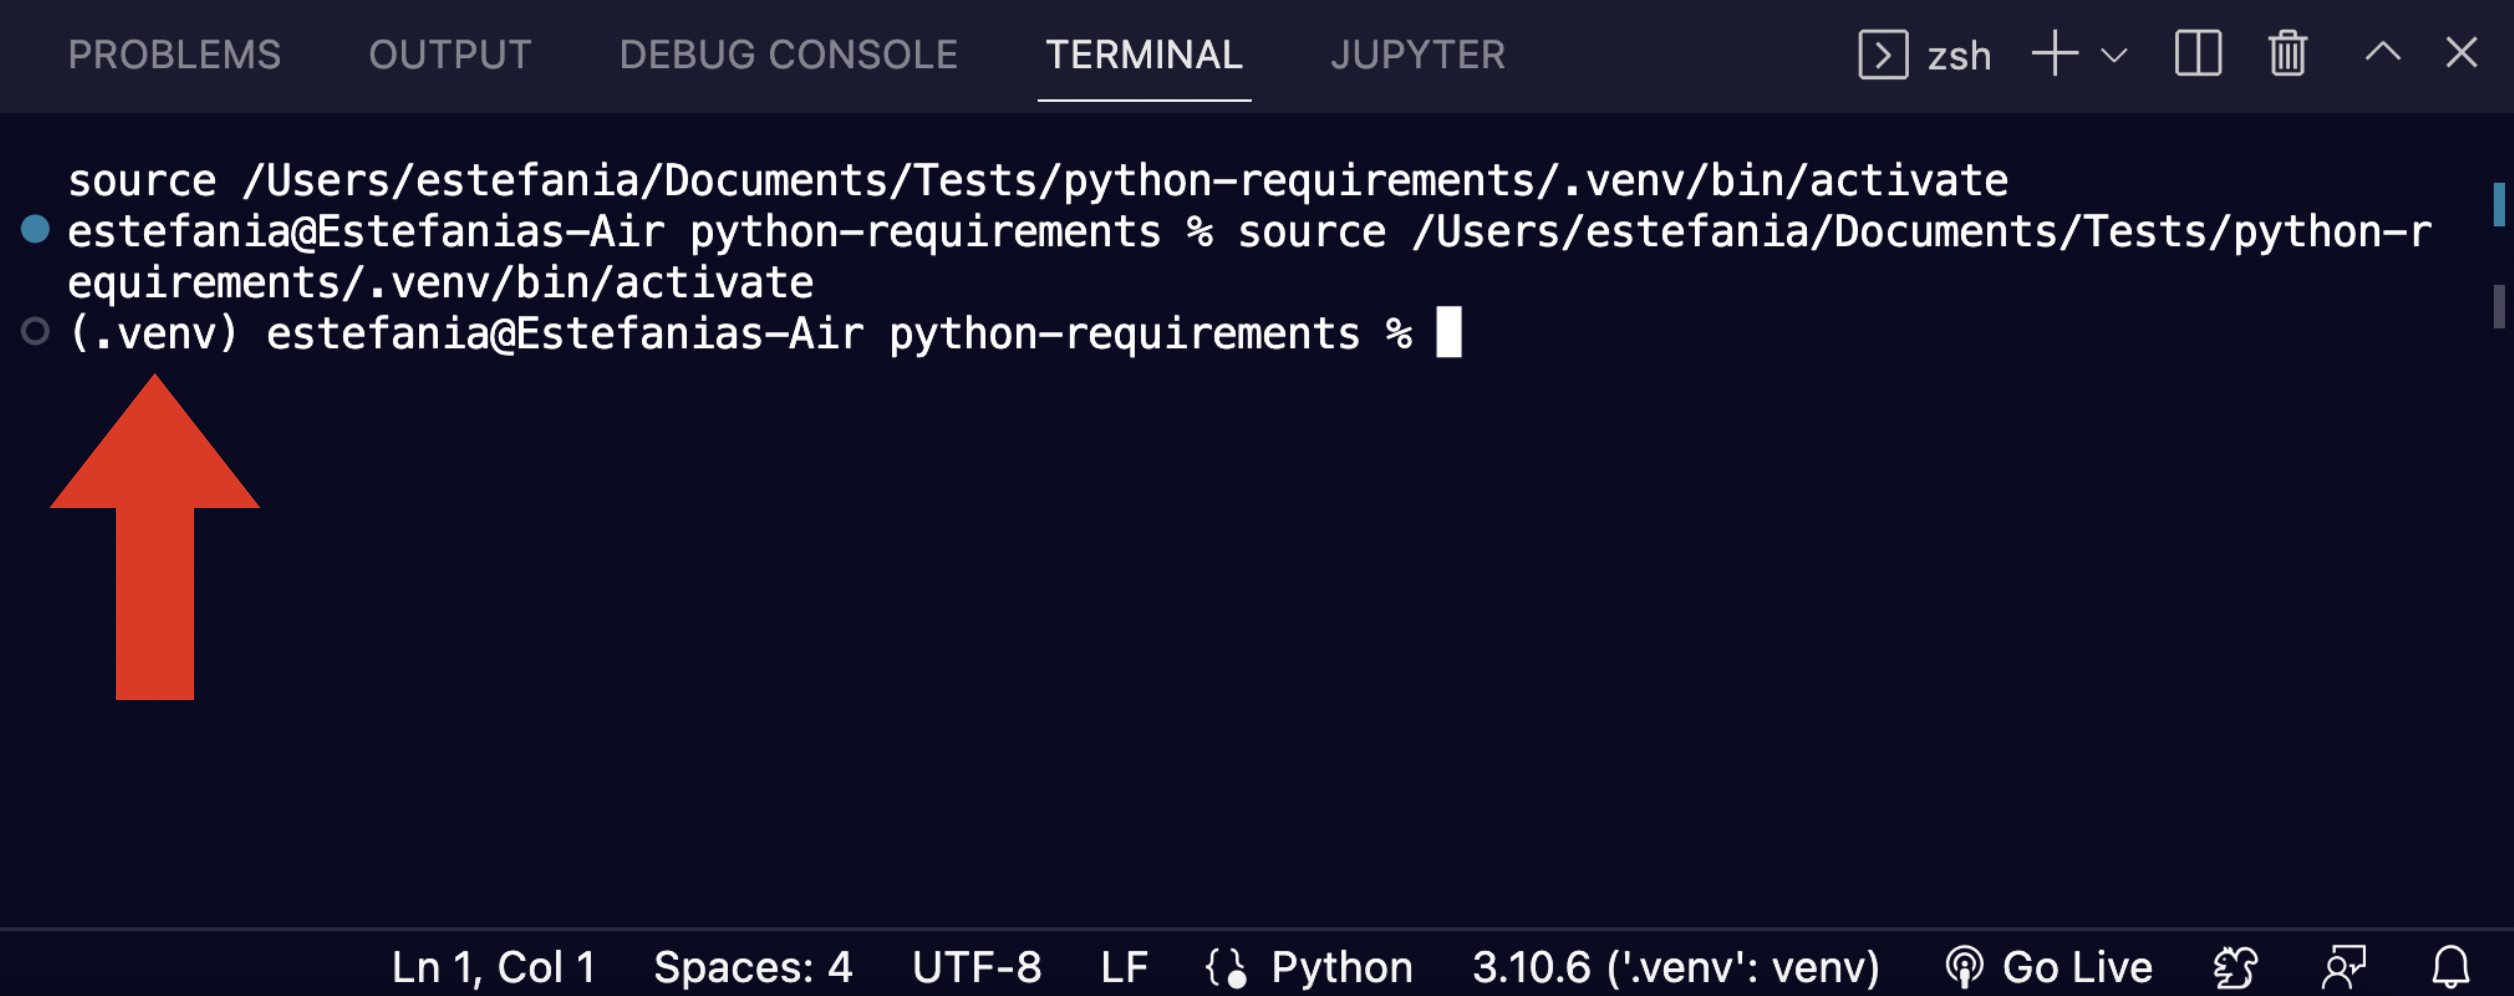
macOS
To activate the virtual environment on macOS, run this command in the terminal:
source <DIR>/bin/activate
In our case, this would be:
source .venv/bin/activate
According to the Python documentation:
The use of source under Unix shells ensures that the virtual environment’s variables are set within the current shell, and not in a subprocess (which then disappears, having no useful effect).
After the virtual environment is activated, you should see (.venv) in the terminal:
Step 5: Choose your Virtual Environment
Now that we created and activated our virtual environment, it's time to use it.
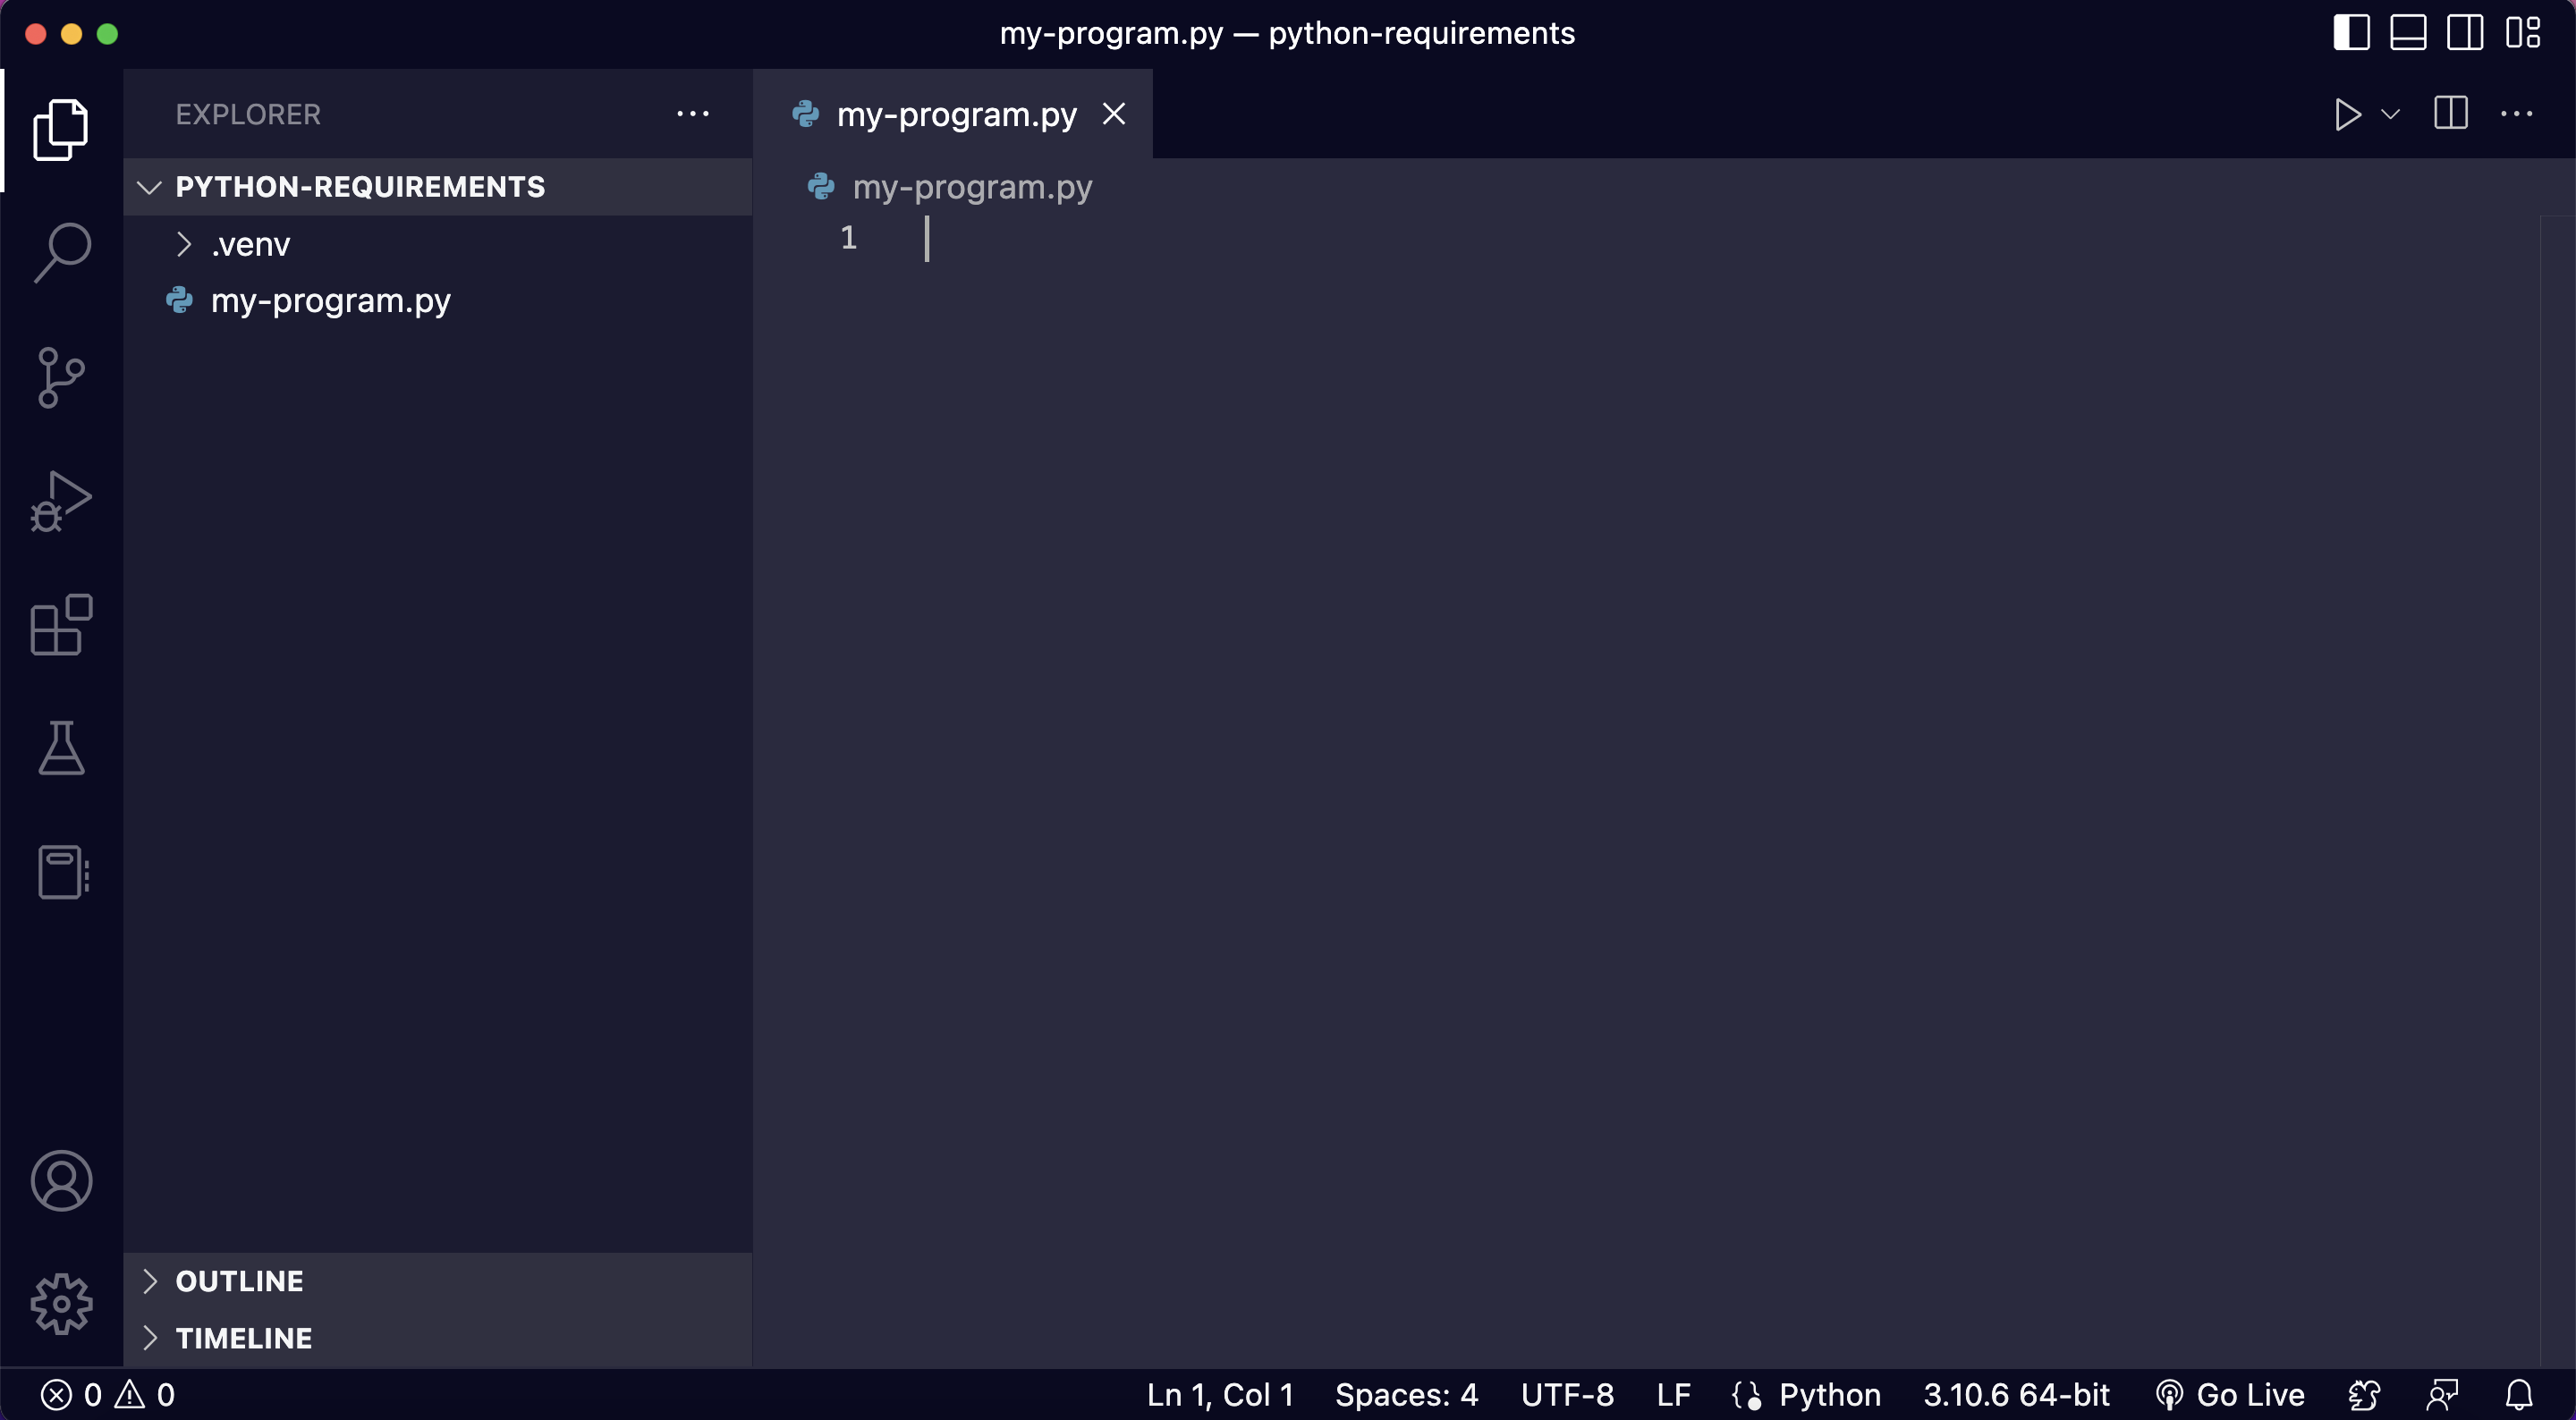
First, create a new Python file:
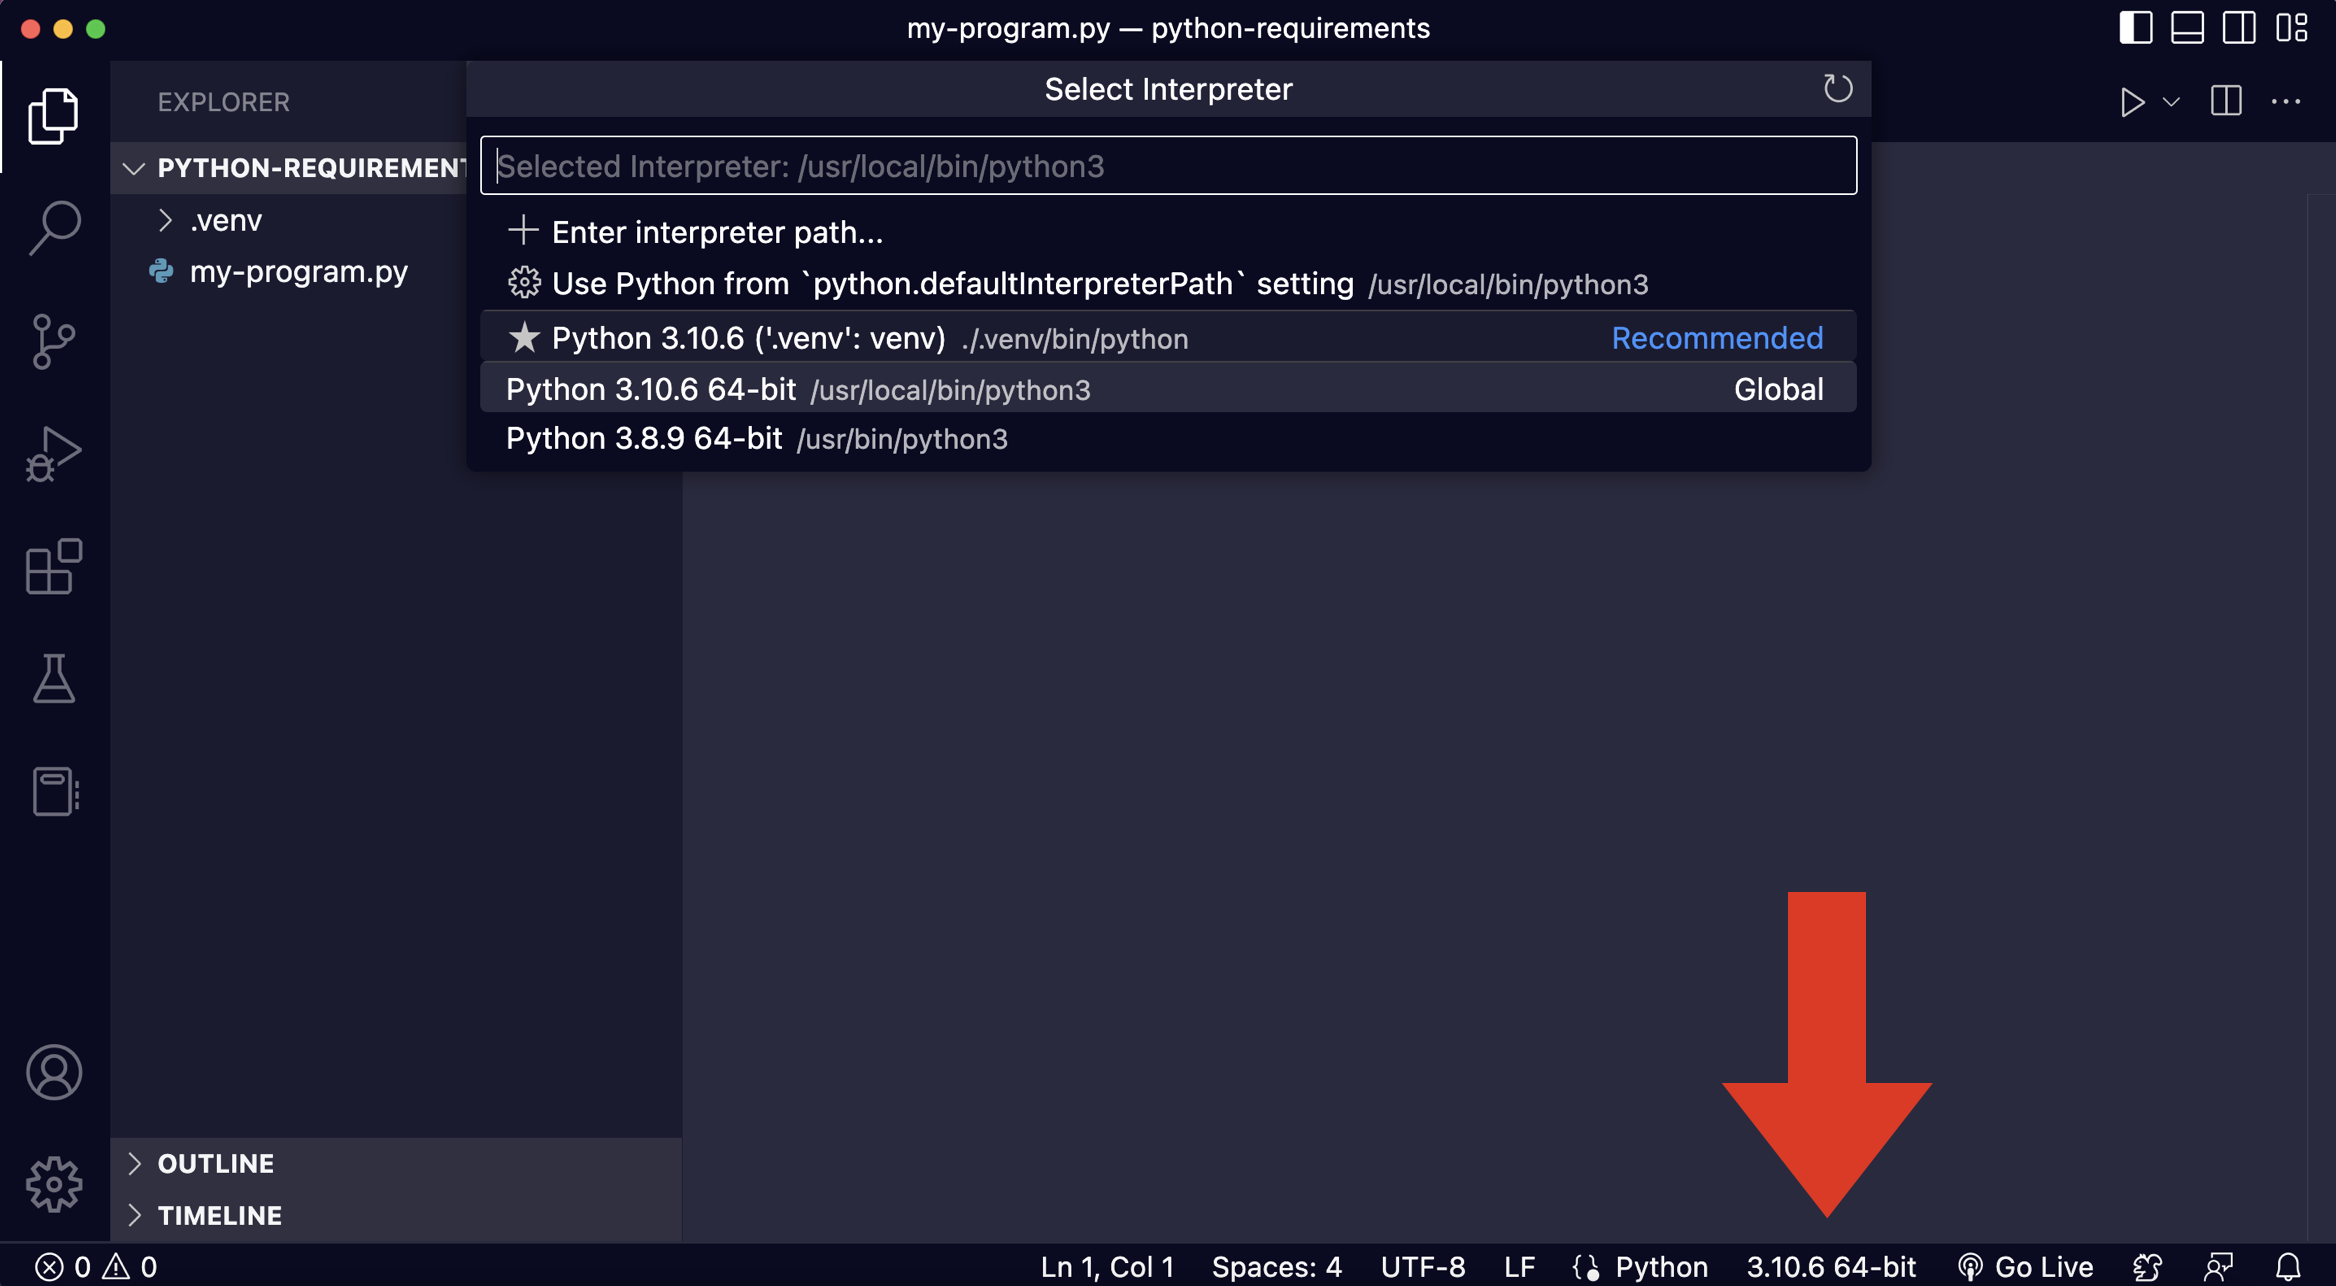
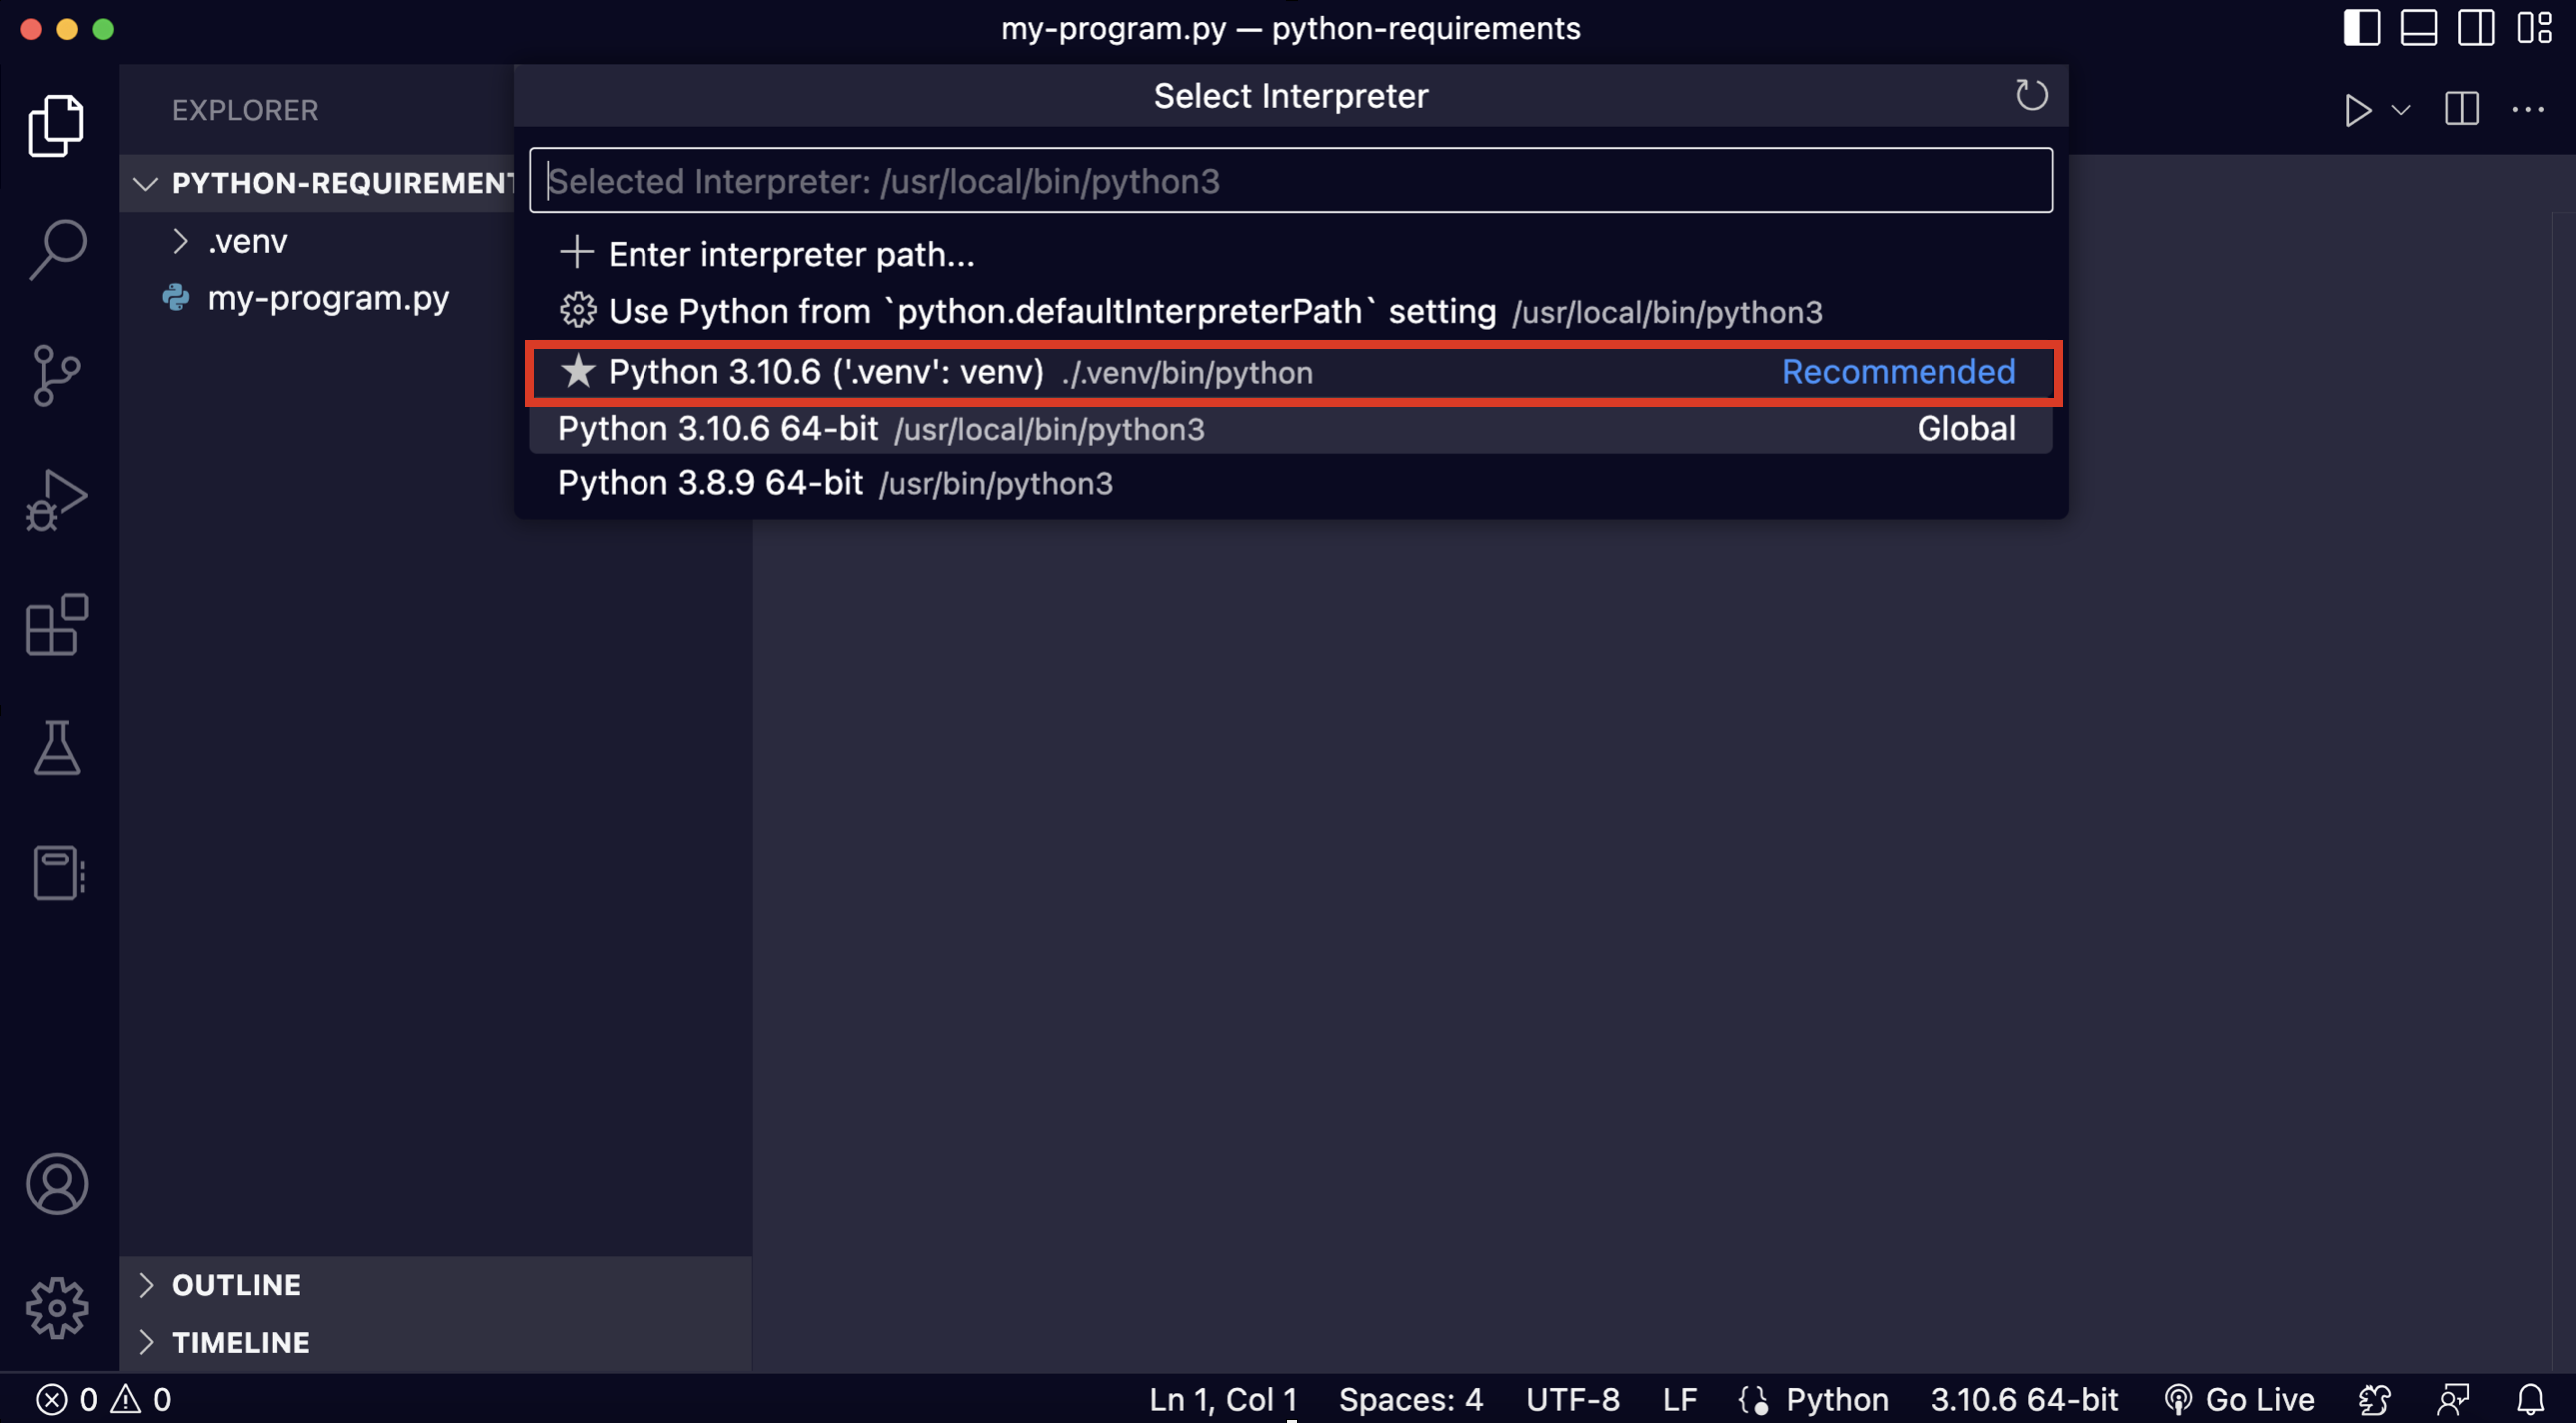
And select the Python interpreter from your virtual environment:
Step 6: Install a Package in the Virtual Environment
Now comes the key moment we have been waiting for. We will install a package in the virtual environment.
To do that, we will run this command in the terminal:
For Windows
py -m pip install numpy
For macOS
pip3 install numpy
You should see a confirmation message like this one when the download and installation are completed:
Collecting numpy
  Using cached numpy-1.23.5-cp310-cp310-macosx_11_0_arm64.whl (13.4 MB)
Installing collected packages: numpy
Successfully installed numpy-1.23.5
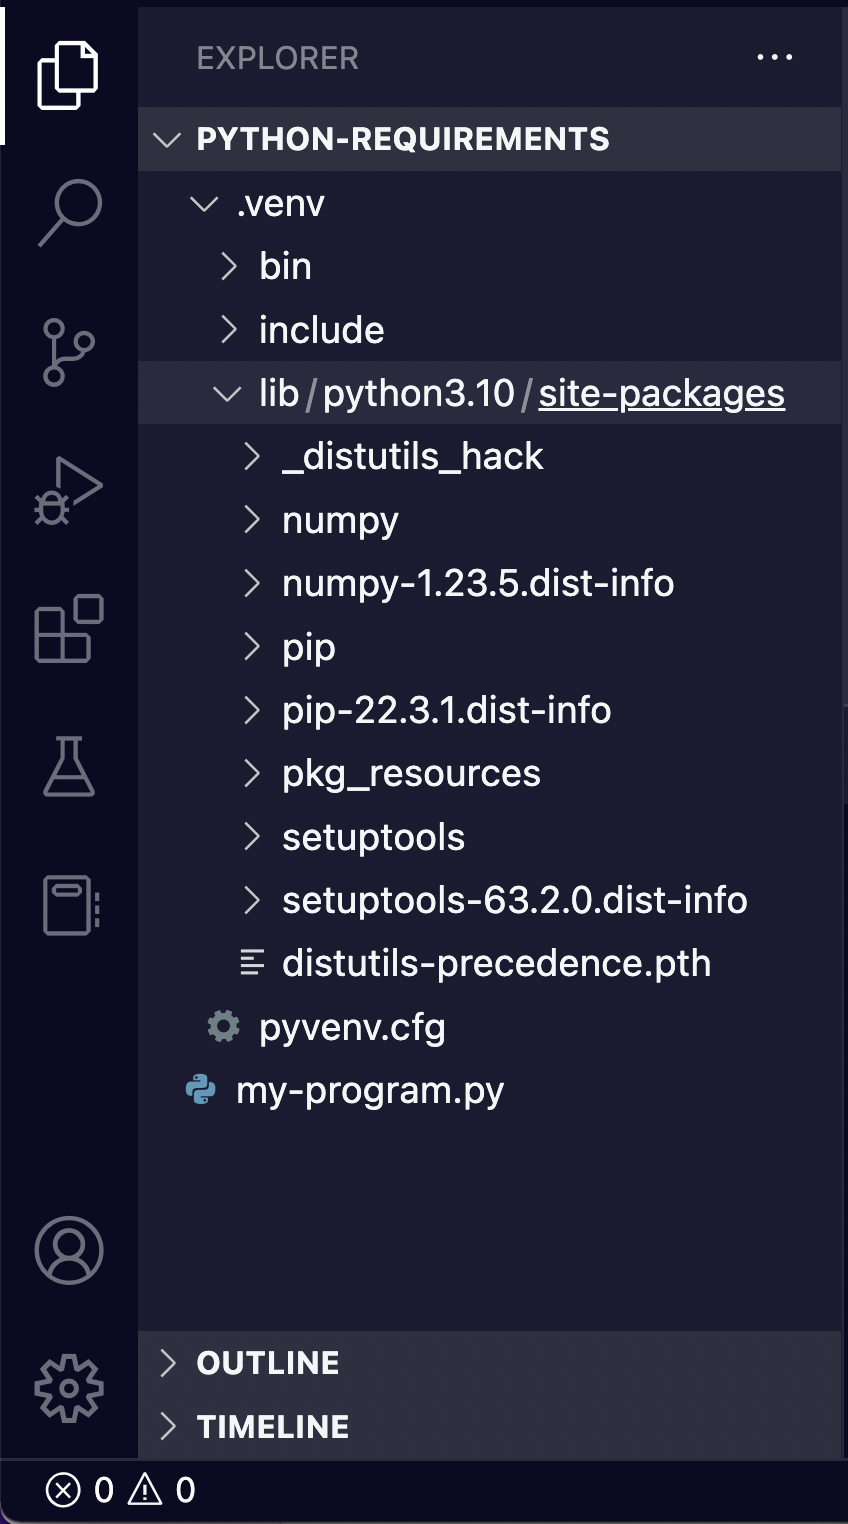
If you expand the .venv folder and then the lib folder, you should see the name of the package you just installed:
Step 7: Write and Run your Python Program
Let's run our program to see if now we have access to NumPy through our virtual environment:
import numpy as np

print(np.mean([4, 5, 6, 7]))
The output is:
5.5
Great! Our virtual environment is working correctly. 🎉
🔸 How to Delete a Virtual Environment
If you don't need your virtual environment anymore, you can delete it.
Before deleting your virtual environment, you should deactivate it by writing this command in the terminal:
deactivate
You will see that the new line in the terminal will have an important change: (.venv) should not appear anymore.
For example, it should go from something like this (this will depend on your operating system):
(.venv) <user>@<device> python-requirements %
To this:
<user>@<device> python-requirements %
After the virtual environment is disabled, you can delete the directory that contains your virtual environment. In our case, that would be the .venv folder.
Awesome, right? Let's see a summary of what you just learned.
🔸 Summary
Virtual environments are very helpful to work with Python packages because they are isolated from other virtual environments.
You can install different versions of the same package in different virtual environments.
You can create and delete virtual environments using a sequence of terminal commands.
The official Python documentation recommends creating a virtual environment for working with Python packages.
💻 Thank you for reading my article. I hope you liked it and found it helpful.
If you would like to find more coding tutorials, follow me on YouTube (Coding with Estefania) and Twitter (EstefaniaCassN).
Have an awesome day. 🔅


